How solar installation works, in short: there are seven stages, namely a quote, a survey, a design with a fixed price, network operator approval, the install day, a handover with your MCS certificate, and aftercare for the life of the system. The work on your roof takes one to two days. The rest is planning and paperwork, and we do all of it for you.
- 1 to 2 days on site for a typical home
- £0 deposit until the survey is done
- 14 days cooling-off period after you sign
- MCS certificate issued at handover, so you can claim export payments
1. Your quote
You tell us your postcode, roof and roughly what you spend on electricity, through our quote form or on the phone. We look at your roof on satellite imagery, estimate what it can hold and send you a guide price. There is no charge and no obligation, and nobody will pressure you into a decision.
2. The survey
A free survey confirms everything the quote assumed. It is done in person, or remotely using photos you send and satellite imagery. We check roof direction, pitch and shading, the condition of the roof covering, loft access, your consumer unit and earthing, the meter, where the inverter and any battery will go, and whether the house is listed or in a conservation area. If you are not sure your roof is right for solar, our guide on whether your roof is suitable covers the basics.
3. Design and fixed price
From the survey we lay out the panels, choose the inverter and any optimisers or battery, and model the yearly output for your exact roof. You get a written quote with the equipment list, expected generation and a fixed price. That price only changes if the roof turns out not to be as described. Once you accept, you have 14 days to change your mind, and any deposit is protected under the RECC consumer code.
4. Network operator application
Every system is registered with your distribution network operator (DNO). Smaller systems are fitted first and notified within 28 days under G98. Larger systems, and most solar and battery combinations above about 3.68kW of inverter output, need G99 approval before we install. We submit it, answer the DNO's questions, and only book your install date once we know when we can connect.
5. Install day, hour by hour
This is a typical day for a 4.4kW system on a two-storey tiled house. Scaffolding normally goes up the working day before.
- 8am: our team arrives, introduces themselves and walks through the plan with you: panel layout, inverter spot, cable route and when the power will go off.
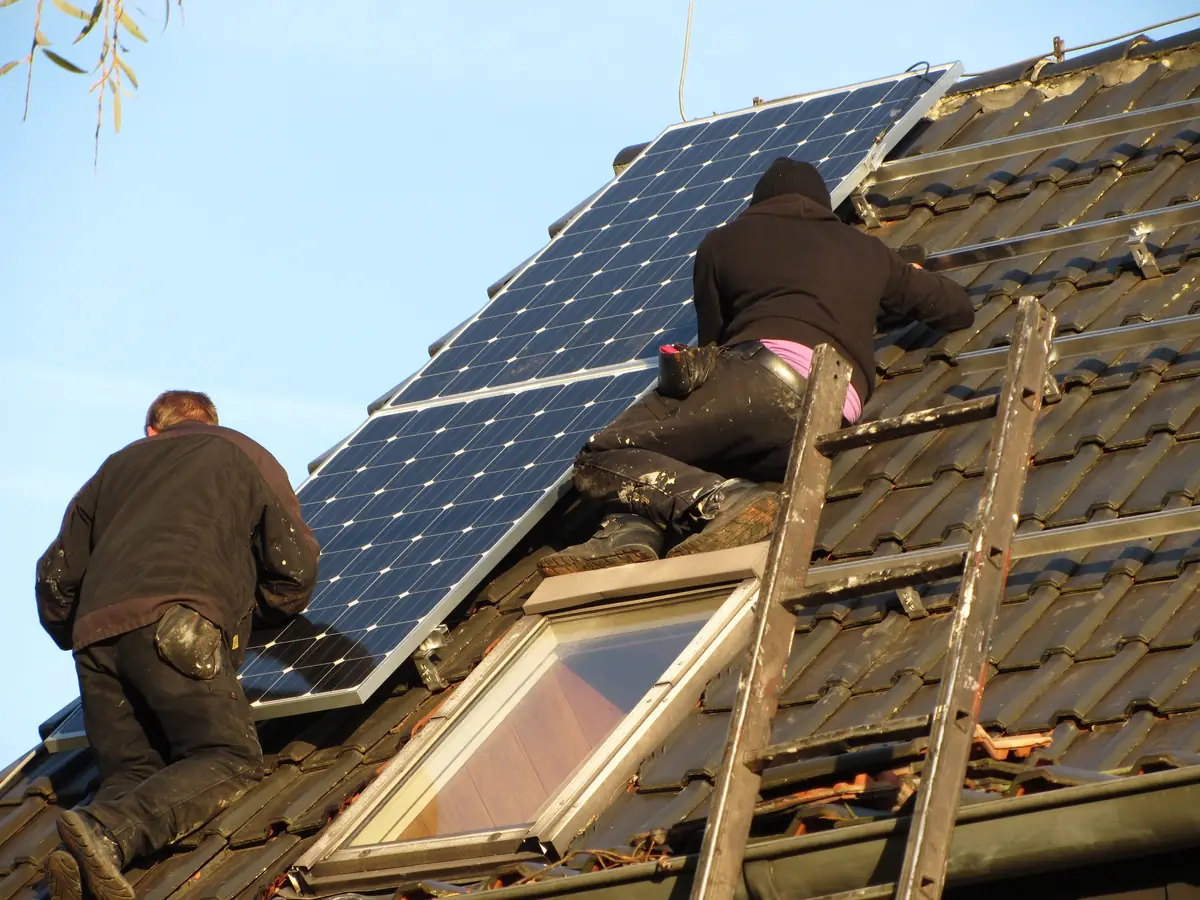
- 8.30am: roofers start. Tiles are lifted where each roof hook goes, hooks are fixed to the rafters and tiles go back down over them.
- 10am: rails go on and are lined up. Meanwhile the electrician fits the inverter, isolators and generation meter in the loft, garage or utility.
- 11.30am: panels are lifted up and clamped to the rails, wired in strings and the DC cable is run down to the inverter. Bird mesh goes on around the edge if it is part of your quote.
- 1.30pm: the power goes off, usually for about an hour, while the electrician connects to your consumer unit.
- 2.30pm: the system is tested, switched on and commissioned. We check it is producing what it should for the conditions.
- 3.30pm: the monitoring app is set up on your phone, and we show you the isolators and what to do if anything trips.
- 4pm: we clear up, check the roof from the scaffold and leave. The scaffold usually comes down within a few days.
Battery installs, slate roofs and larger arrays often run into a second day. Our guide on how long solar installation takes has more on timings.
6. Handover and paperwork
After install you receive a handover pack with:
- your MCS certificate, which proves the system was designed and installed to standard
- electrical installation certificate and test results
- DNO notification or approval
- manufacturer warranties registered in your name, and our workmanship warranty
- system design, expected yearly output and a simple user guide
7. Export tariff and aftercare
With your MCS certificate and a smart meter, you can join a Smart Export Guarantee tariff and be paid for what you send to the grid. We help you choose one and complete the sign-up; read our Smart Export Guarantee guide for current rates. After that, we keep an eye on things. With your permission, we run remote monitoring checks to spot a system that has stopped or dropped in output, and our aftercare line is there if you have a question or a fault. Any problem with our work is covered for 10 years; see our warranties for what that includes.
What we need from you
Not much, but a few things make the process quicker:
- a recent electricity bill or your yearly usage in kWh, so we can size the system
- photos of your roof, loft, consumer unit and meter if you choose a remote survey
- clear access to the loft and consumer unit on install day, and somewhere for the team to park
- a word with your neighbours if the scaffold needs to stand on or overhang their side
- your supplier details, so we can help you arrange a smart meter if you do not have one
How long from start to finish: for most homes it is a few weeks from survey to install, depending on scaffolding, our diary and whether a G99 approval is needed. We give you a realistic date at the design stage and keep you updated.
Ready to start? Get a free quote, or see what systems cost on our solar panel cost page.
Sources: MCS consumer codes; RECC; Octopus SEG requirements.